

Knowledge › Practice
Practice
Signature practice sheet: how to make one and use it well
No download needed: a sheet of A4, a ruler and a pencil will do. Guide lines, real-life box sizes, a sheet laid out row by row and a seven-day routine that makes the sheet do the work for you.
Practising on a blank page is like running a track with no lanes: every lap drifts a little. A good practice sheet fixes the size, the slant and the space, so your hand stops guessing and starts learning. This guide doesn't hand you a downloadable template. Instead it shows you how to make one yourself, on paper or in a word processor, fitted exactly to your own signature. We cover the guide lines, box sizes that match real life, how to lay out a sheet row by row and a seven-day routine. How to practise in general is covered in our practice guide; this piece is about the sheet itself.
What a practice sheet is for, and what it isn't
A practice sheet is a frame drawn in advance that settles three things for you: how tall your letters are, which way they lean and how much space they have to fit into. With those fixed, all your attention goes to the movement. On a blank page those three things shift a little on every line, and you can't tell whether the shape changed or only the size.
- Trains your hand to a consistent size and slant
- Shows how much your repetitions differ
- Lets you rehearse real box sizes
- Dated sheets show your progress
- Breaks practice into short, plannable sessions
- It won't design the signature for you
- It won't teach speed if you only write slowly on it
- Use it too long and your hand waits for the lines
- It drills a bad model just as well as a good one
- It doesn't replace testing in real situations
So the sheet is a tool, not the goal. It works best when you're practising a signature you've already chosen, and when you gradually drop the guide lines by the end of the week. If you don't have a design yet, create your own signature first and only then start drawing sheets.
What you need
Nothing special. You almost certainly have everything at home already.
- Paper. Plain A4 printer paper or a squared (grid) notebook. A grid notebook has the big advantage that the horizontal lines are already there.
- Pencil and ruler. A medium pencil (such as HB) for the guide lines, because it's faint and erasable.
- The pen you actually sign with. Don't practise with a special pen; use the type that lives in your bag. We look at how pen and paper change the line in a separate piece.
- Thin, see-through paper. Tracing paper or baking paper for tracing. Optional, but very helpful in the first few days.
- A model. The best, most natural example of your chosen signature, or a design you picked in a signature designer.
Guide lines: four lines that sort everything out
Four kinds of line are useful on a signature practice sheet. Not every row needs all four, but it helps to know what each one does.
- Baseline. Your letters sit on it. It's the most important line and the last one you'll drop during the week.
- Midline. The top of the small letters (a, o, e, n). For an everyday signature, a small-letter height of 3–5 mm is comfortable; measure it on your own best sample.
- Top line. The height of the capital and the tall letters (l, b, k). A good starting point is two to two and a half times the small-letter height.
- Slant lines. Diagonal lines every 1–1.5 cm, at the angle your writing leans. They show at once when a letter falls out of rhythm.
Take the slant from your own sample, not from a book. Lay the ruler along a few long, upright strokes in your model (the stem of an “l” or a “k”, say) and see what angle it makes. Copy that angle onto the sheet. If your writing is upright, make the slant lines vertical.
Box sizes: practise for the space you'll really get
Most signatures don't land on a big empty page; they land on a line or in a small box. If you only ever practise in roomy rows, the first tight form squashes your signature or makes it spill over. That's why a good sheet always includes a few boxes at real-life sizes.
- Signature line. At the bottom of a contract or declaration there's usually a line a few centimetres long. Practise on a 6–8 cm line; that's enough for most documents.
- Form box. A small rectangle, for example 4 × 1 cm. This is the toughest test: does it fit, and is the capital still readable?
- Card strip. The back of a bank card or an ID leaves a very narrow space. Measure your own with a ruler and copy it onto the sheet exactly.
- Your own most common box. If you regularly fill in a particular form at work, measure its box too. That will be the most valuable box on the sheet.
Exact size matters more than you'd think. In a tight box, a millimetre or two decides whether the ending runs out of the frame. So always draw boxes with a ruler; don't estimate. We cover the tricks for very small spaces in a separate piece.
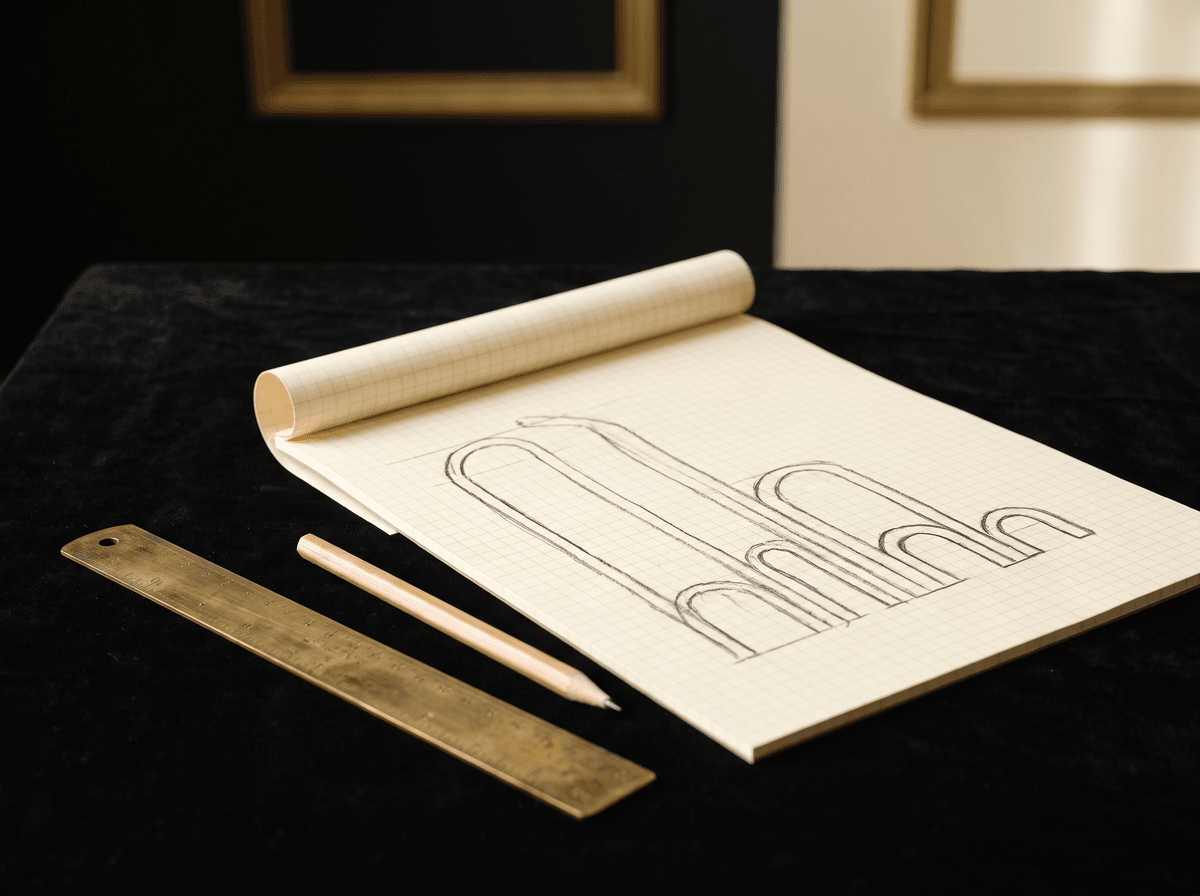
A good sheet, row by row
An A4 sheet in landscape comfortably holds eight to ten rows. The layout below is for a ten-minute session: as you work down the page you get less and less help and move closer to your real signature.
- 1Header. The date, which day it is, which pen you're using. Later this shows you what changed.
- 2Row 1: warm-up. Circles, waves and loops in one continuous line between the baseline and the midline. Half a minute, no more.
- 3Row 2: model and tracing. Your model on the left, then two or three tracings on see-through paper or over a faintly printed copy.
- 4Row 3: copying beside the model. With all the guide lines, slowly, looking at the model, three or four times.
- 5Row 4: parts. The capital on its own, the connection on its own, the ending on its own. The hardest part gets double the space.
- 6Rows 5–6: from memory. Cover the model and write it from memory at normal size. One row still has every line; the other only the baseline.
- 7Row 7: speed. The same form at three speeds: slow, medium and your real pace.
- 8Row 8: boxes. Signature line, form box and card strip side by side, at real size.
- 9Footer: one sentence. Note what went well and what didn't. For example: “the ending ran too long today”.

You don't have to fill every row every day. In the first days the upper rows get more space; by the end of the week the lower ones do. The seven-day routine below spells this out.
Drawing one by hand in five minutes
If there's no printer to hand, or it's simply quicker, you can draw a master sheet by hand. You only have to do it carefully once; after that you can photocopy it, or slip a fresh sheet on top each time and let the lines show through.
- 1Turn the sheet to landscape. A signature is a wide shape, and landscape fits more repetitions on a row.
- 2Rule the baselines. With a ruler and pencil, evenly spaced. Leave enough room between baselines that tall and low-hanging letters don't collide, roughly 2–2.5 cm.
- 3Mark the midline and top line. Above each baseline, at the heights you measured on your own model, very faintly.
- 4Add the slant lines. At the angle you measured, every 1–1.5 cm. The top half of the sheet is enough; lower down you'll work without them.
- 5Draw the boxes. Along the bottom of the sheet, at the real sizes you measured.
Making one in a word processor
If you'd like a clean master sheet you can print again and again, a word processor (Word, Google Docs or Pages, for example) does the job. Menu names differ between programs and versions, but the idea is the same everywhere.
- 1Set the page to landscape. In page setup, choose landscape orientation and narrow the margins.
- 2Insert a table. One column and eight to ten rows. Set the row height to a fixed value, for example 2–2.5 cm.
- 3Keep only the bottom border. Turn off the table borders and keep just the bottom line of each row, in light grey. Those are your baselines.
- 4Dot the midline. If your program allows it, split each row with a dotted, even fainter line at small-letter height.
- 5Boxes in the last row. A small nested table or a rectangle shape at exact sizes: signature line, form box, card strip.
- 6Save it as a master. You can print it whenever you like and paste a picture of your model into the second row.
Slanted lines are fiddly in a word processor. It's simpler to rule them in pencil on the printed master once, then copy that.
Tracing on the sheet: help for the first days
Tracing helps your hand feel the exact proportions and the order of the strokes. It belongs in the second row of the sheet, and only for the first three or four days. Put your model under a thin, see-through sheet, or print it in very pale grey, and follow the lines in your real stroke order.
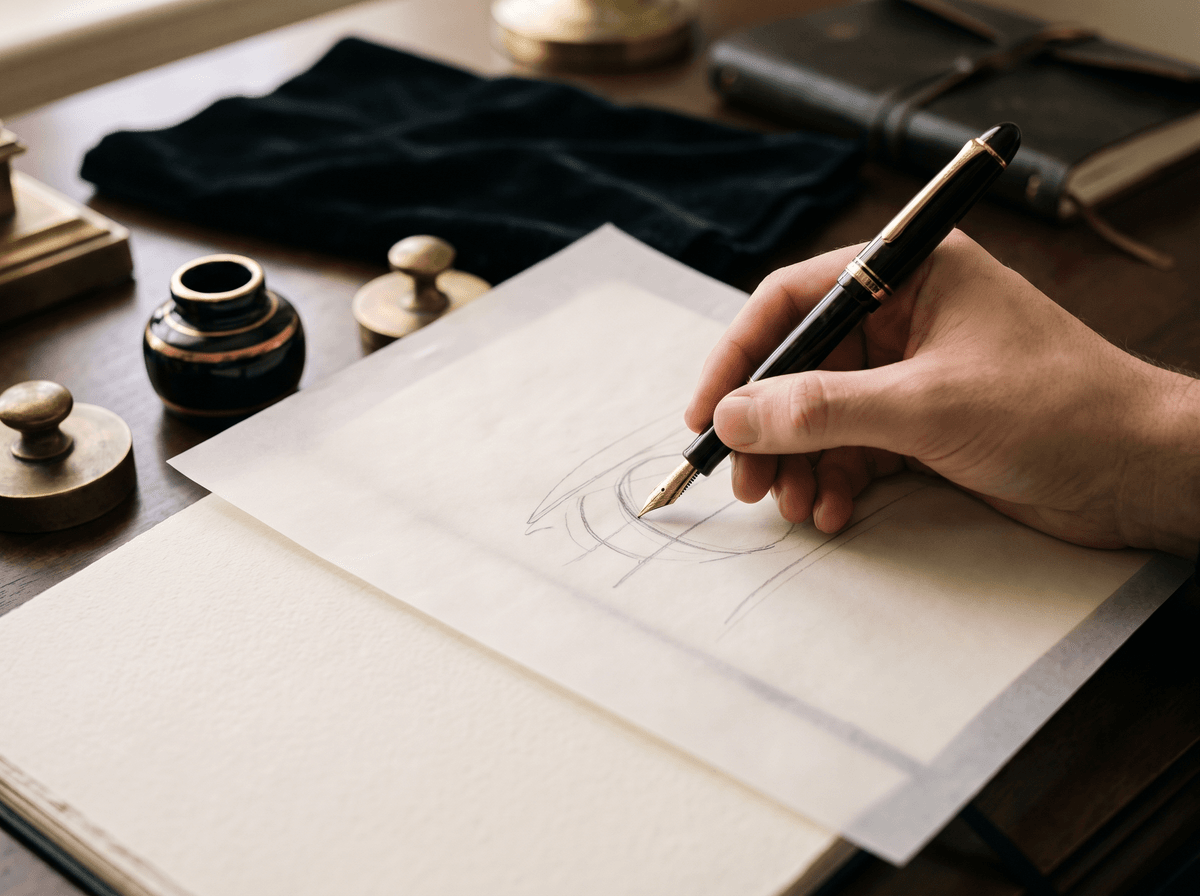
- Don't slow down too much. Tracing easily turns into drawing. Try to move along the line in close to the time it takes you to sign.
- Always in the same order. Stroke order matters more than perfect accuracy. If you start here once, always start here.
- Then straight from memory. After each tracing, write it once from memory beside the model, so your hand doesn't learn to wait for a guide.
When to drop tracing and how to build up speed is covered in detail in our practice guide.
A seven-day routine with the sheet
The sheet works best when it gives you less help each day. The routine below takes ten minutes a day, and the aim is that by day seven you need nothing but the boxes.
- 1Day 1: full help. Every line in place. Warm-up, plenty of tracing, copying beside the model, slowly. From memory only once or twice.
- 2Day 2: parts. Row 4 gets double space: capital, connection and ending separately, with the hardest part repeated most.
- 3Day 3: less tracing. Two tracings, then copying and one row from memory, still with all the guide lines.
- 4Day 4: no slant lines. No tracing. Write from memory with baseline, midline and top line, but no slant lines.
- 5Day 5: baseline only. From memory, on the baseline alone, then the speed row: slow, medium, fast.
- 6Day 6: no lines. One empty band with nothing to help you, then the boxes at real size.
- 7Day 7: boxes only. Warm up, then fill half the sheet with signature lines, form boxes and card strips at your real pace. This is your weekly test.
How to read a finished sheet
A filled sheet tells you more than you'd expect, as long as you know what to look for. Give it a minute at the end instead of just putting it aside.
- Hold it up to the light. Lay today's sheet over yesterday's and look through both at a window. How closely do the rows written from memory line up?
- Find the most variable part. Almost always one element wobbles most: the height of the capital, a connection or the length of the ending. Circle it in pencil and give it more space tomorrow.
- Check the boxes. Does anything spill over the frame? Is the capital still readable in the smallest box?
- Compare with the first sheet. If the day-seven row written from memory is steadier than the day-one row you copied, the sheet has done its job.
A good practice sheet makes itself unnecessary by the end of the week.
Keep your dated sheets in a folder. If you change your signature later, or feel unsure after a long break, a glance at the old sheets shows you where you were.
Common mistakes with practice sheets
- Too many rows in one sitting. Three sheets filled while tired are worth less than one done with attention. Stop after ten minutes.
- Guide lines too dark. Black lines drown the ink. Keep them pale grey or pencil.
- Nothing but tracing. If most of the sheet is tracing, your hand never learns the form by heart.
- A sheet printed to fit. If the printer rescaled the page, the boxes no longer show real sizes.
- No boxes. A signature that looks good in roomy rows falls apart at the first small box. Never skip the box row.
- A new model every day. The sheet drills one chosen form. If you keep changing it, your hand doesn't know what to learn.
The one sentence worth taking away
You can make a good signature practice sheet yourself on a sheet of A4 or in a word processor: faint baseline, midline, top line and slant lines, boxes at real sizes, rows that give less help as you go down, and a week in which you drop the guide lines one by one.
Questions
Where can I download a signature practice sheet?
You don't need to: a sheet you make yourself is better, because you fit it to the size and slant of your own signature. A sheet of A4, a ruler and a pencil are enough, or a table in a word processor. You can draw the layout in this guide in five minutes and photocopy it.
How tall should the lines be on a practice sheet?
Measure the small-letter height on your own best sample; for an everyday signature it's usually 3–5 mm. Put the capital line at roughly two to two and a half times that. Leave 2–2.5 cm between baselines so tall letters don't collide.
Can I practise in a grid notebook?
Yes, and it's the quickest option because the horizontal lines are already there. You'll still need to add slant lines by hand and draw real-size boxes with a ruler, because grid squares don't match the boxes on forms.
How long should I use guide lines?
About a week, dropping them gradually: every line in the first days, no slant lines from day four, then no midline and top line, and by the end of the week only the real-size boxes. Use them too long and your hand starts waiting for the lines.
Why draw boxes at real size?
Because most signatures go on a narrow line or into a small box. If you only practise in roomy rows, your signature squashes or spills over at the first tight form. Measured boxes show during practice whether the ending fits and the capital stays readable.
Try it with your own name


Read these too
Knowledge Practice
How to learn your new signature, step by step
Warm up, learn the stroke order, trace, then build speed: a 7-day and a 21-day plan for making a new signature truly yours.
 Practice
Signing left-handed: grip, slant and paper
Writing with your left hand isn't a disadvantage; it just calls for a different technique. From grip and paper angle to slant and smudge-free pens, here's everything you need for a calm, good-looking signature.
 Practice
Signing in tiny spaces: cards, forms, cheques
The narrow strip on the back of a card, a tiny box on a form, a table cell: suddenly your usual signature doesn't fit. Here's how to scale it down while keeping it the same signature.