Knowledge › Practice
Practice
How to learn your new signature, step by step
Warm up, learn the stroke order, trace, then build speed: a 7-day and a 21-day plan for making a new signature truly yours.
Learning a new signature is like learning a new move in a sport: at first every stroke takes thought, then one day your hand simply does it. What happens in between is practice, but not all practice is equal. Repetition alone won't teach you. The right order and short, regular sessions will. This guide walks you from warm-ups through stroke order and tracing to speed, gives you a 7-day and a 21-day plan, and covers plateaus, checking consistency and left-handed writing.
Why “just write it a lot” doesn't work
Most people start by grabbing a sheet of paper and filling it with their new signature. After a page their hand is tired and the last lines look worse than the first. The reason is simple: tired, careless repetition gets learned just as well as good repetition. If your letters start colliding by the twentieth try, your hand is practising the collided version too.
A signature is a short, fast sequence of movements. For it to run on its own, your hand needs to learn three things: which stroke follows which, what the proportions are, and the speed and momentum with which the pen travels. These are best learned one after another, not all at once. Order first, then proportions, then speed. Start fast and you simply speed up your mistakes.
Your hand learns what you repeat, not what you meant to write.
Warm-ups: two minutes that matter
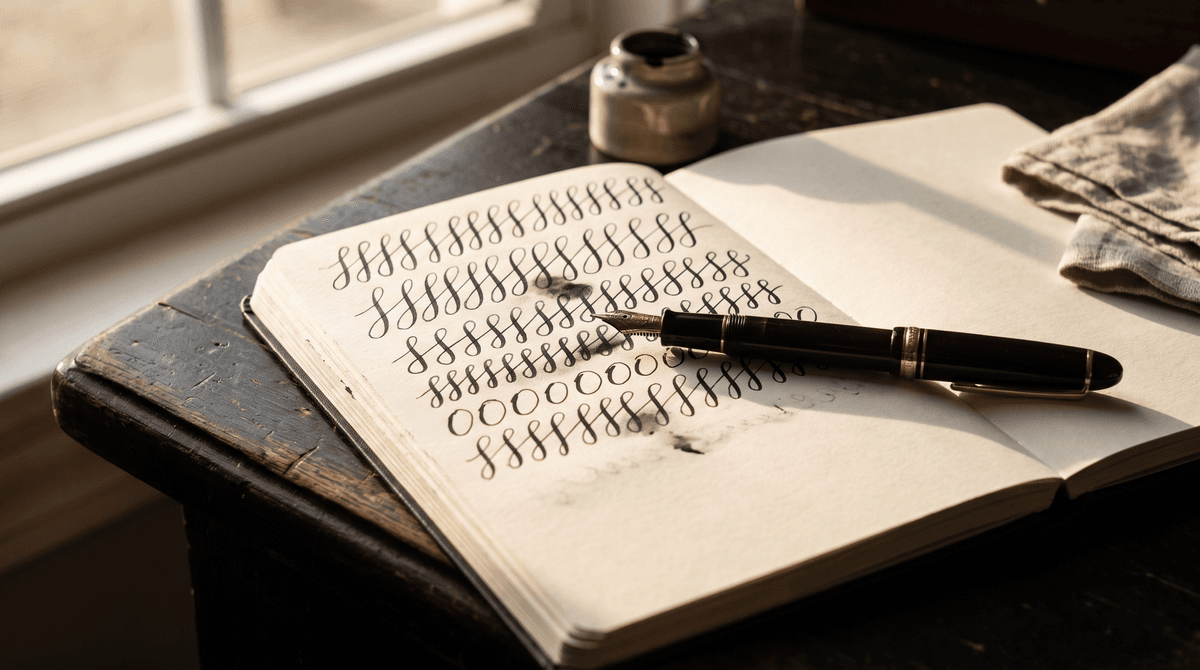
A cold, stiff hand makes small, angular strokes; a relaxed one makes round, continuous lines. Before you touch your signature, give your hand two minutes to find its rhythm. All you need is a sheet of grid or lined paper and the pen you'd actually sign with.
- 1Circles and ovals. Draw ten to fifteen small circles side by side, then the same number of slanted ovals, without lifting the pen. Aim for even size and continuous movement, not perfect shapes.
- 2Waves and loops. Draw a row of connected loops like a cursive “e”, then a row of taller “l”-style loops. This prepares your hand for the up-and-down motion of joined writing.
- 3Long, straight strokes. A few quick horizontal and slightly slanted lines that come from the wrist, not the fingers. Think of them as rehearsal for your finishing stroke.
- 4A reset. Drop your hand, shake it out gently and take a breath. If your shoulder has crept up, let it down.

Short daily sessions: how the habit forms
Movements stick best when you meet them often and briefly. Five to ten minutes a day beats an hour once a week, because every day you have to recall the movement again, and that recall is what strengthens it. “Muscle memory” isn't magic: it simply means that a movement you repeat often gradually needs less conscious attention to perform.
- Attach it to an existing habit. Your morning coffee, say, or the end of your working day. Without a fixed slot, it's easy to skip.
- Keep it small. Stop while it's still going well rather than when your hand is tired.
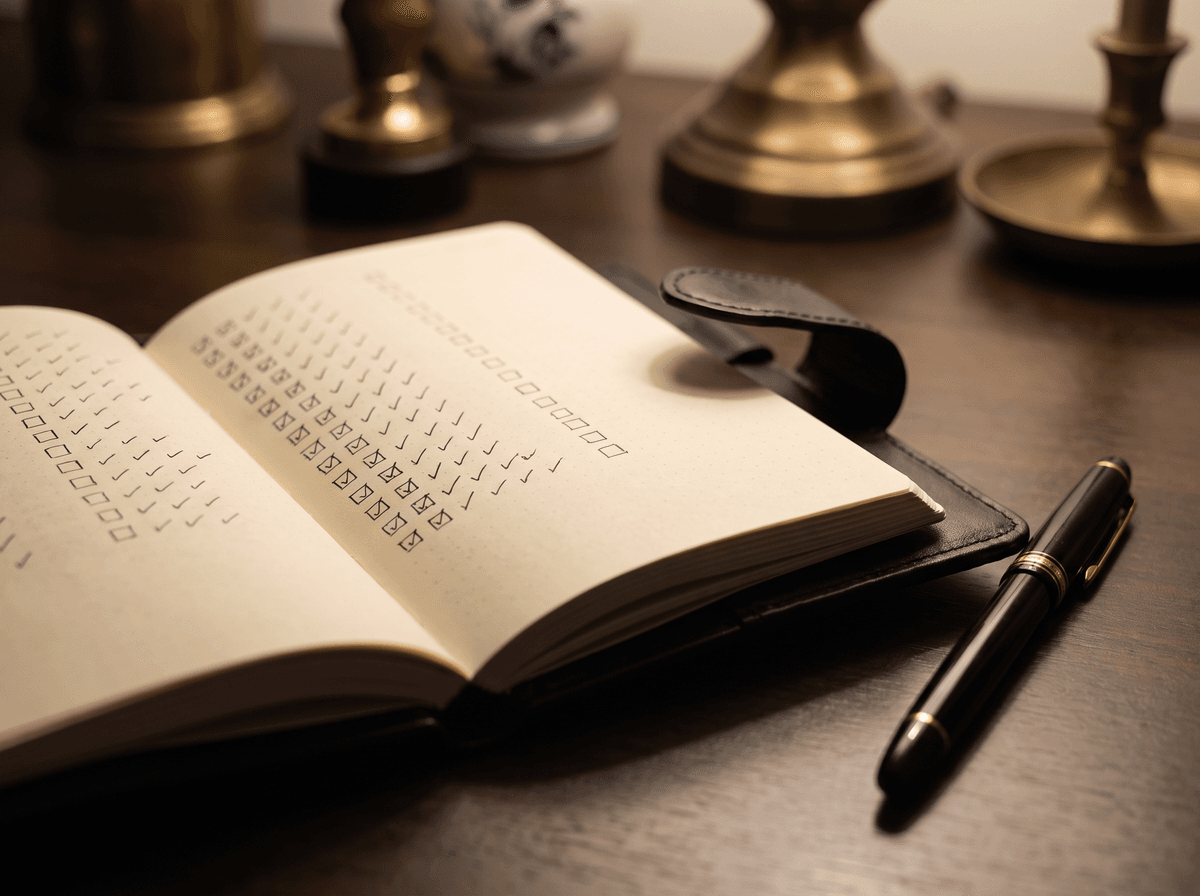
- Mark it off. A tick in a planner is a small thing, but seeing the streak is motivating.
- Don't double up. If you miss a day, don't practise twice as long the next. Just pick up the plan where you left off.
Stroke order: break your signature into parts
Before writing it in one go, look closely at what your signature is made of. Where does the pen go down? Where does it lift? Which way does the first stroke travel? A longer signature usually breaks into three or four parts: the capital, a connecting stroke or second capital, the rest of the name, and the finish. If any of those feel shaky, our guides to capital letters and finishing strokes go into more detail.
- 1See it whole. Write or look at the guide once and notice where it starts, where it ends and how many times the pen lifts.
- 2Number the strokes. On a copy, write small numbers at the start of each stroke: 1, 2, 3. Add arrows where direction matters. This is your map.
- 3Practise the parts. Just the capital five times, just the finish five times. Give the hardest part extra time.
- 4Join them in pairs. Capital plus connection, connection plus continuation.
- 5Then all at once. Now write the whole thing, slowly, next to your numbered guide.
Take Anna Kovács as an example. Her signature opens with a large, looped “K” leading into a smaller “A”, then a flowing “nna” and a horizontal finish. The trouble spot was the join: after the “K” she kept lifting the pen, and the “A” started at a different height each time. Once she drilled that one transition, ten times a day, the whole signature fell into proportion within three days. Calligra's lessons work the same way: letter by letter, stroke by stroke, with the full form shown faintly behind.
Tracing: letting your hand follow the guide
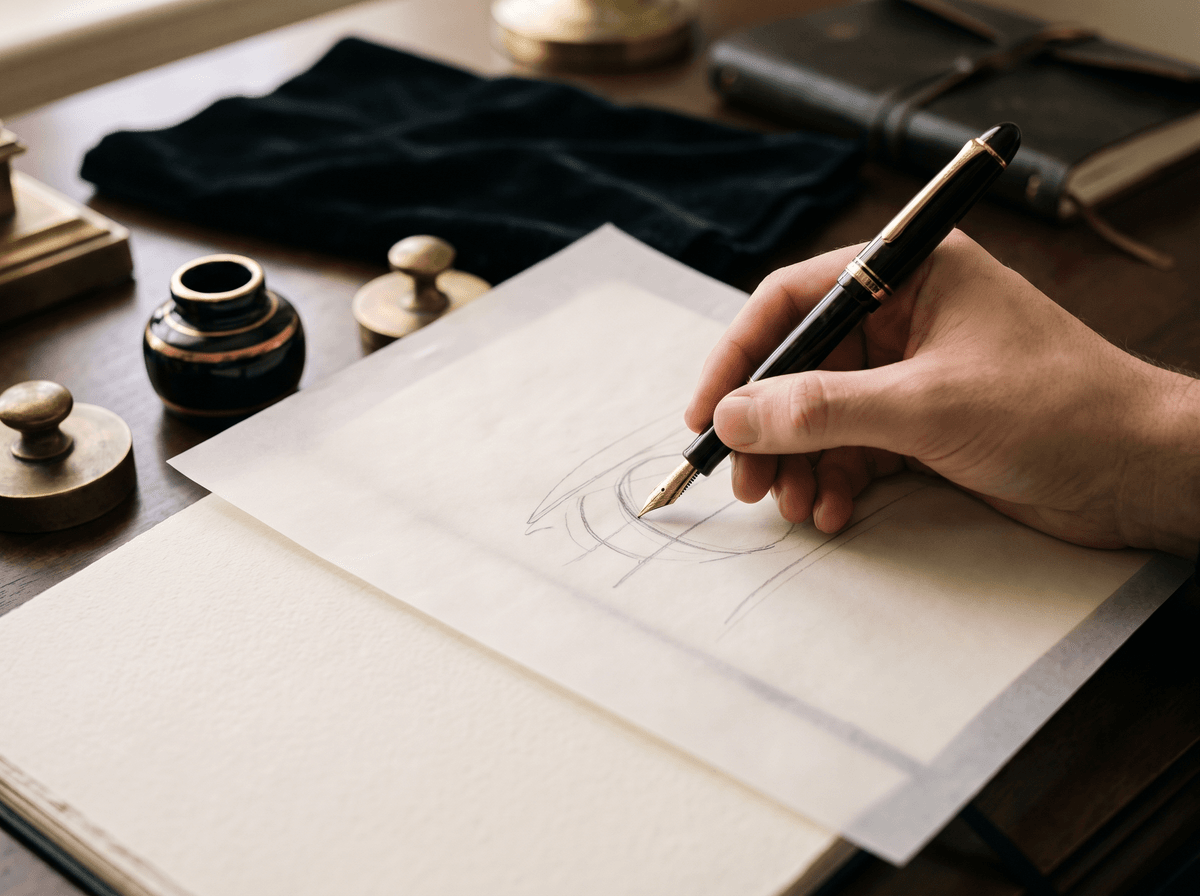
Tracing is the easiest way for your hand to feel the right proportions. Thin tracing paper, baking parchment or printer paper held against a window all work. Put the guide underneath and follow the lines with your pen, keeping to the stroke order.
- Shows you exact sizes and spacing.
- Drills the direction and order of strokes.
- Gives you confidence early on, with no guesswork.
- Reveals where your hand hesitates or wobbles.
- Teach you speed, since you follow carefully and slowly.
- Make the signature something you can write from memory.
- Help if overused: your hand starts waiting for the guide.
- Tell you how consistent you are on your own.
Slow, then fast: building up speed
A signature's character comes from its momentum. One drawn slowly looks stiff and shaky. So the goal isn't a slow, beautiful form. It's a fast form that comes out the same every time. Slow writing is just the first rung.
- 1Slow. Write slowly enough that you know what comes next at every stroke. This is the time for order and proportions. Three to five repetitions.
- 2Medium. Speed up a little, but not so much that it falls apart. Check that loops stay closed and joins land where they should.
- 3Real speed. Write it the way you would when signing for a parcel or at the bottom of a contract: in one go, no touching up.
- 4Step back down. If something keeps slipping at full speed, practise just that part at medium speed, then try fast again.
One firm rule: never touch up a signature after the fact. If a loop came out wrong, don't redraw it. Write the whole thing again from the start. That way your hand always practises the complete sequence, not the patching.
The goal isn't a slow, beautiful signature. It's a fast one that comes out the same every time.
The 7-day plan: your first week
The aim of week one is a reliable stroke order, so that by the end you can write your signature from memory at medium speed. Ten minutes a day, warm-up included, is plenty.
- Day 1: get acquainted. Warm up, study the guide, number the strokes and write it slowly next to the guide five times. A couple of traces are fine too.
- Day 2: the parts. Warm up, then each part separately: capital, connection, continuation, finish, five times each. Double up on the hard one.
- Day 3: the transitions. Join the parts in pairs, then write the whole signature slowly five times. A few traces with a fainter guide.
- Day 4: first time from memory. Write it twice next to the guide, then cover it and write it three times from memory, slowly. Compare with the guide: what's different?
- Day 5: medium speed. Slow, then medium speed beside the guide, then five times from memory at medium speed.
- Day 6: check. Write ten signatures from memory, one under another, at medium speed, and look at them together. Mark the part that varies most.
- Day 7: take stock. Warm up, drill your weak part, then five signatures at real speed. Keep this sheet: it's your end-of-week snapshot.
The 21-day plan: until it runs on its own
After week one most people can write their new signature, but they still have to think about it. The next two weeks are about letting that attention fade, so your hand writes the new form even when your mind is elsewhere. Three weeks isn't magic, just a workable frame.
- Week 1 (days 1–7): order. The 7-day plan above. The goal is a secure stroke order and writing from memory at medium speed.
- Week 2 (days 8–14): speed. Daily warm-up, then five signatures at medium and five at real speed. Every other day, write ten in a column and see how alike they are. Trace only if a part has drifted badly.
- Week 3 (days 15–21): real life. Start using the new signature day to day: shopping lists, notebooks, birthday cards. Practise standing up, on a notebook resting on your knee, with different pens. Sessions can shrink to five minutes.
- After day 21: maintenance. Once your test signatures look alike, a few minutes two or three times a week is enough, while you watch that the old one doesn't creep back.
Peter Nagy flew through week one, but in week two the loop of the “g” in his surname kept staying open at real speed. Instead of restarting, he opened each session with five loops on their own. By week three the loop had closed. If you're switching to the new signature at your bank or at work along the way, see our guide to changing your signature.
How to check whether it's consistent yet
Your signature doesn't need to be perfectly identical every time; no handwritten signature is. What matters is that it's recognisably the same: the same distinctive parts, the same proportions, the same direction. The best way to check is to see several attempts side by side.
- 1Ten in a column. From memory, at real speed, one under another on a plain sheet.
- 2Start and end points. Lightly draw a vertical line at the start of the capitals. Do they line up roughly? Does the finish always end in the same place?
- 3Height and width. Compare the height of the capital with the other letters. If it's twice as tall one time and one and a half times the next, that part needs its own practice.
- 4Slant. Lay a ruler along the stems of the capitals. If one leans left and another right, slow down a touch and watch your wrist position.
- 5Loops and joins. Are they all closed? Do they all connect at the same point?
If you practise on screen as well, Calligra's practice mode scores every attempt, so you can see your consistency develop in numbers too. Use both: screen for quick feedback, paper for the pen you actually sign with. We cover choosing one in our guide to pens and ink.
When you stall: plateaus and slipping back
Almost everyone hits a point where days go by without visible progress. The signature isn't getting worse, but it isn't getting better either. That's normal: fine-tuning is slower than the early gains. What you need then isn't more practice, but different practice.
- Narrow your focus. Find the one part that varies most across your ten attempts and give it all your attention for a week.
- Change speed. If you always write fast, write slowly for two days. If you're always cautious, try it bolder, with more swing.
- Change the setup. Different paper, a different pen, a different chair height. If something only works in one setting, it hasn't really settled yet.
- Take a break. After a day or two off, it often goes better than before.
- Look back at day one. Put your first sheet beside today's. Usually you'll see the progress is there; it just doesn't show from one day to the next.
Left-handers and special cases
Writing left-handed is no disadvantage; a few things just need different attention. The most important is that your hand shouldn't drag through wet ink, and you shouldn't have to hook your wrist to write. Turn the page clockwise, roughly enough that your hand rests comfortably below the line. Pick a quick-drying ink or a pen that doesn't smudge.
- Left-handers. If a stroke direction feels awkward, such as a long left-to-right finish, feel free to redesign it so you pull the pen rather than push it.
- Long and double names. With a double surname like “Eszter Szabó-Kiss”, don't try to learn it all at once. Practise the two capitals and the transition between them separately; the rest can be shortened.
- Accents. Marks like the double accent on Hungarian “ő” and “ű”, or the acute on “á” and “é”, are a separate movement that often gets left to the end. Decide in advance whether your signature includes them, and if so, add them at the same moment every time.
- Very short names. With a short name like “Ida Ott”, the proportions and the finish carry the character. With so few strokes, a small change shows.

Whichever hand you write with, keep the grip light. If your index fingernail turns white or the pen leaves a dent in your finger, you're squeezing too hard. A loose grip gives a more fluid line and keeps you from tiring.
The one sentence worth taking away
Warm up, break it into parts, trace, then build speed slowly. A few focused minutes a day for three weeks beats any marathon session, and by the end your hand writes the new signature on its own.
Questions
How long should I practise each day?
Five to ten minutes is plenty if it happens every day, with a minute or two of that for warm-ups. Longer sessions tire your hand, and tired attempts get learned too. If you want more, split it into two short sessions.
How long until the new signature sticks?
It varies a lot from person to person and with how complex the signature is. Many people can write it from memory by the end of the first week, but having the new form come out when you're rushed and not thinking about it usually takes several weeks of regular use. The 21-day plan is a frame, not a deadline.
Should I practise on paper or on screen?
Both are worth it. On screen you get instant feedback; Calligra's practice mode, for example, scores every attempt. On paper you practise with the pen and surface you actually sign on, and that's where you learn how ink, friction and paper behave.
Is it a problem if my signatures aren't all identical?
No. A handwritten signature is never pixel-perfect, and it doesn't need to be. What matters is that the distinctive parts, proportions, slant and finish are recognisably the same.
What if the old signature keeps coming out when I'm in a hurry?
That happens to almost everyone in the first weeks. Use the new one in lots of everyday situations and practise at speed, not just carefully. When you catch yourself writing the old one, write the new one three times afterwards. For official records such as your bank, procedures differ by institution and country, so ask them what they need for a new signature sample.
I'm left-handed. Do I need a different plan?
The plan is the same; just angle the page, pick a quick-drying ink and make sure your wrist isn't hooked sharply. If a stroke direction feels awkward, adapt the signature to your hand.
Can I keep tracing for the whole three weeks?
It's not a good idea. Tracing helps with proportions early on, but kept up too long, your hand starts waiting for the guide. Fade the guide gradually, and from week two use it only if a part has drifted badly.
Try it with your own name


Read these too
Knowledge Practice
Signing left-handed: grip, slant and paper
Writing with your left hand isn't a disadvantage; it just calls for a different technique. From grip and paper angle to slant and smudge-free pens, here's everything you need for a calm, good-looking signature.
 Practice
Signing in tiny spaces: cards, forms, cheques
The narrow strip on the back of a card, a tiny box on a form, a table cell: suddenly your usual signature doesn't fit. Here's how to scale it down while keeping it the same signature.
 Practice
Signature practice sheet: how to make one and use it well
No download needed: a sheet of A4, a ruler and a pencil will do. Guide lines, real-life box sizes, a sheet laid out row by row and a seven-day routine that makes the sheet do the work for you.