Knowledge › Practice
Practice
Signing left-handed: grip, slant and paper
Writing with your left hand isn't a disadvantage; it just calls for a different technique. From grip and paper angle to slant and smudge-free pens, here's everything you need for a calm, good-looking signature.
Most of what we were taught about writing was designed for right-handers: the letter models, the way desks and chairs are arranged, spiral notebooks, even the pen chained to the right-hand side of a bank counter. If you write with your left hand, you've probably worked out your own way of doing things, and often it works well. But sometimes your wrist aches, the ink smears, or your signature leans a little differently every time. A left-handed signature can be every bit as good-looking and confident as a right-handed one. You just need to adapt your grip, the paper and your tools to your hand, not the other way round. In this article we look at why writing left-handed is different, the main hand positions, how to turn the paper, what to do about slant, how to avoid smudging, and how to design your signature's strokes so they're comfortable for your hand.
Why writing left-handed is different
Latin script runs from left to right. If you write with your right hand, your hand follows the text, you pull the pen along behind you, and the fresh ink is free to dry. With your left hand it's the other way round: your hand moves ahead of the text, you push the pen more than you pull it, and the side of your hand or little finger easily sweeps across what you've just written.
That leads to the three most common difficulties. Ink smudges because your hand passes over it. You can't see what you're writing because your hand covers it. And your wrist tenses up because your body instinctively tries to solve the first two, for example by curling the hand above the line. None of this is your fault; the environment simply wasn't made for you.
A signature is a lucky case here: it's short, a single sequence of movements, usually written in one go. With the right grip and paper position, there's much less opportunity for smudging and covering than in a full page of handwriting.
Your hand isn't wrong; the world was just set up for the other one.
Grip: relaxed, and a little higher
A good left-handed grip rests on the same basics as a right-handed one: the pen lies between thumb and index finger, the middle finger supports it from below, and you hold it so lightly that someone could slide it out of your hand with a gentle tug. There are two ways it's worth departing from right-handed habits.
- Hold it a little higher. If you hold the pen a few millimetres further from the tip than you're used to, you'll see the line beside your hand more easily and won't need to bend your wrist to look at it.
- Keep your wrist relaxed. Your wrist should be straight or only slightly bent. If it curls strongly inwards, the movement becomes stiff and can start to hurt during longer writing.
- Don't press down. If your fingernail turns white or the pen leaves a dent in your finger, you're gripping too hard. A relaxed grip gives a more fluid line.
- Watch your shoulder. Many people hike up their left shoulder while writing. Let it drop, and let the movement come from your elbow and forearm too, not just your fingers.

Three hand positions, and which is right
Left-handers hold their hand in roughly three ways relative to the line. None of them is the one correct way. The aim is to be comfortable, pain-free and able to see what you're writing.
- Below the line. Your hand moves below the line you're writing, wrist fairly straight. It doesn't sweep over fresh ink, and you can see the pen tip clearly. This usually needs the paper turned more.
- From the side. Your hand moves to the left of the line, roughly level with it. It's in between the other two, and many people settle into it naturally.
- Hooked. Your hand curls above the line, wrist bent, the pen arriving from above. Many left-handers learned to write this way because it lets them see the text without smudging it. If it's comfortable and doesn't hurt, there's no need to give it up.
- Your wrist doesn't hurt even after longer writing.
- You can see the pen tip as you write.
- Ink rarely smudges.
- Your signature leans the same way more or less every time.
- Your wrist tightens or aches after a few signatures.
- You regularly smear what you've written.
- You write in a twisted posture with a raised shoulder.
- The slant of your signature changes from one time to the next.
If you want to change something, don't change everything at once. Start with the paper angle, covered in the next section; often that alone straightens the wrist. If you've written with a hooked hand since childhood, switching completely can be a long process, and it isn't necessarily needed. For a signature, it's enough that your position is comfortable and consistent.
Paper position: turn it and move it left
Paper position is probably the biggest simple change a left-hander can make. Right-handers usually tilt the paper anticlockwise. Left-handers generally find the opposite comfortable: paper turned clockwise, so its top edge points up to the right.
- 1Place the sheet on your left side. Not in the centre, but slightly in front of your left shoulder. Your forearm then reaches it at a natural angle, without crossing in front of your body.
- 2Turn it clockwise. Start with a gentle angle and increase it until your hand sits comfortably below or beside the line. There's no required angle; your hand and forearm decide.
- 3Line it up with your forearm. A good starting point is to have the signature line roughly at right angles to your forearm. The movement then comes from your wrist and forearm, not from curled fingers.
- 4Test and adjust. Sign three times, see how similar they are, then turn the sheet a little and try again.
Slant: upright, forward or backward?
Many schools teach a forward-slanting hand, and plenty of left-handers feel they ought to follow it. Yet with the left hand, upright or slightly backward-slanting writing often feels far more natural. There's nothing wrong with that. What matters in a signature isn't which way it leans, but that it always leans the same way.
- Upright. For many left-handers this is the easiest, and it looks very clean and modern. It works well in small boxes too.
- Slight forward slant. Achievable with the left hand too, especially with the paper turned further. If you like it, experiment with the paper angle rather than bending your wrist.
- Backward slant. Natural for the left hand, and it gives a distinctive character. Just don't overdo it, or tall letters start leaning into each other.
Checking consistency is simple: sign ten times one under the other and lay a ruler along the stems of your capitals. If one leans left and another right, the paper position is probably changing from one time to the next. We also cover consistent slant in what makes a signature look professional.
In a signature, it doesn't matter which way it leans, only that it always leans the same way.
Beating smudges: ink, pen and order
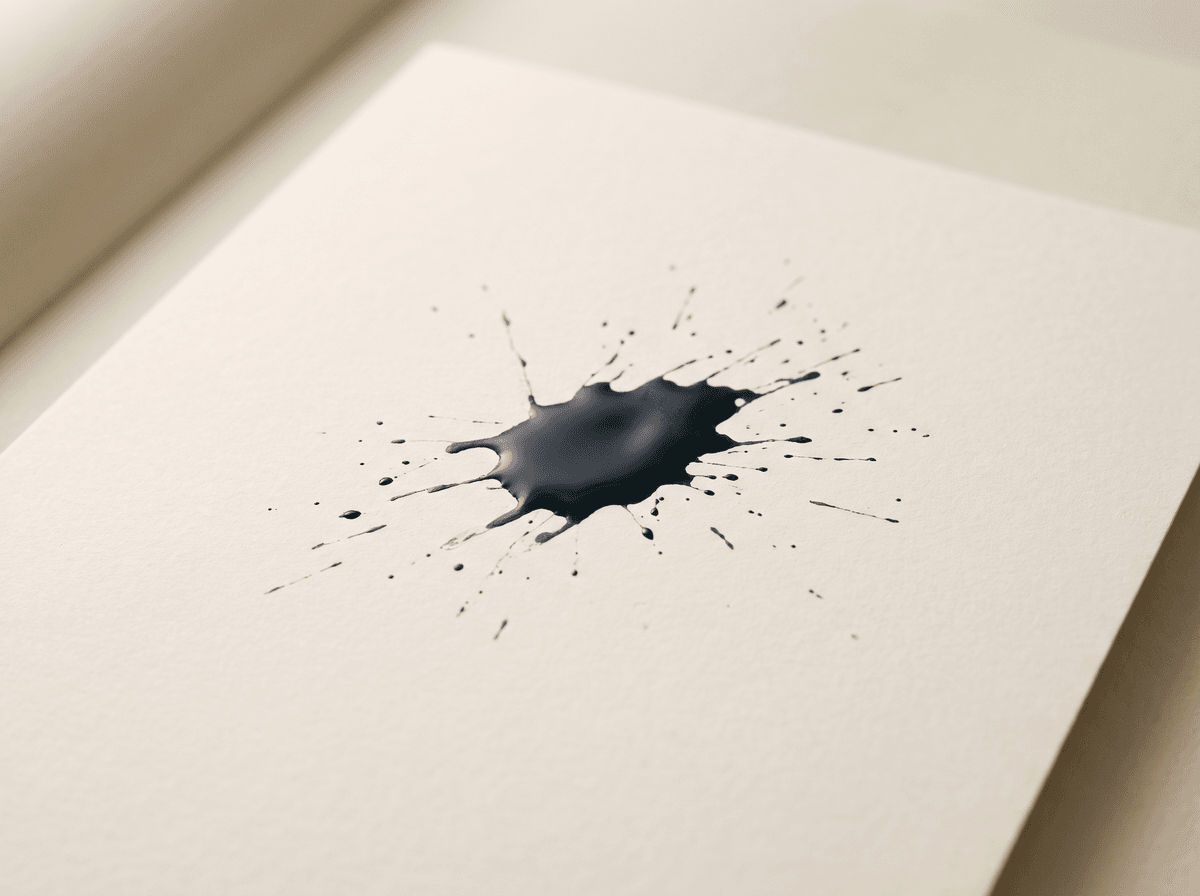
Smudging is the best-known left-handed annoyance, and luckily the easiest to fix. The fix has three parts: a tool whose line dries quickly, a hand position that doesn't drag across fresh ink, and a little attention to the order in which you add your strokes.
- Ballpoint. Most ballpoint ink sets quickly, so for everyday use it's often the safest choice for left-handers.
- Fineliner. Gives a thin, even line, and many types dry quickly. Test on a plain sheet how long it takes before it no longer smudges.
- Gel pen. Gives a lovely, rich line, but depending on the type it can dry more slowly. Some are specifically made to dry fast; those are worth looking for.
- Fountain pen. Usable left-handed too, especially with a finer nib and quick-drying ink. Some makers offer nibs specifically recommended for left-handers. If you love fountain pens, see pens, ink and paper.
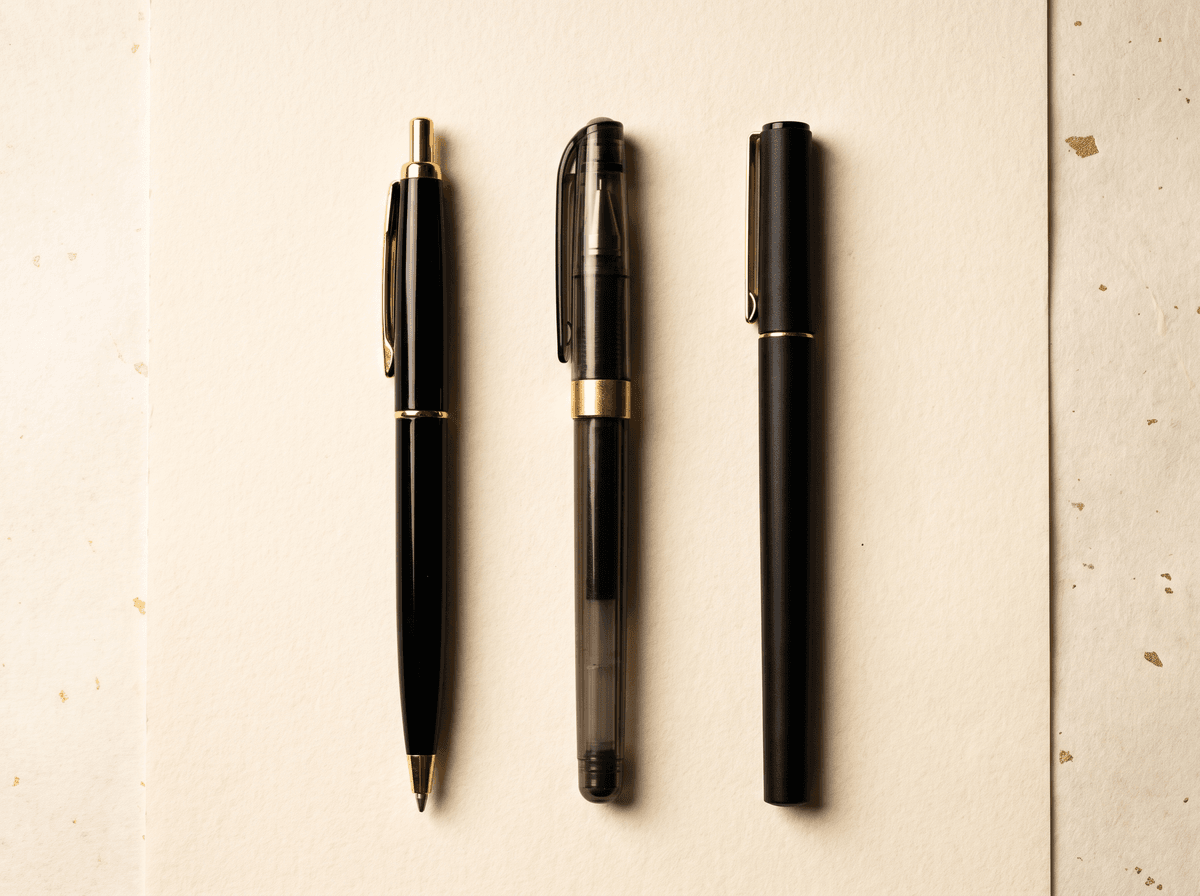
If it still smudges, a sheet of blotting paper or a clean sheet under your hand helps, so you're not resting directly on fresh writing. For important papers such as a contract, wait a few seconds before folding it or putting the next page on top.
Design your signature for your hand
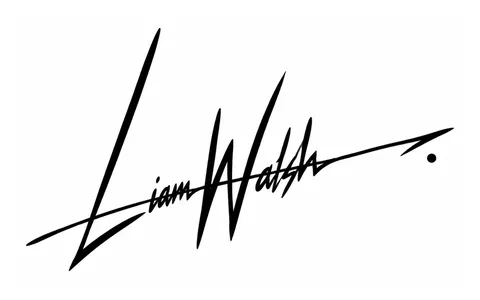
You can tailor a signature to your hand, and for left-handers that matters a lot. Some strokes that are natural pulls for a right hand become pushes for a left hand, and those often catch, scratch or wander. It's worth thinking about which strokes you could change the direction of, keeping the shape but making it more comfortable.
- 1Find the awkward stroke. Write your signature slowly and notice where the pen catches, where you have to grip harder, where the tempo changes. It's usually a long horizontal stroke or a large loop.
- 2Try it in reverse. An underline or a crossbar can also be drawn from right to left. The shape stays the same, but the pen is pulled, not pushed.
- 3Watch the end of the line. If you draw a stroke in the other direction, its tapering end moves to the other side too. Decide which you prefer and stick with it.
- 4Add small marks last. Many people add accents, dots and crossbars at the very end, in one quick movement. That way your hand doesn't pass over them as you write.
Ben Taylor, for example, struggled for years with his long underline running off to the right: pushed with his left hand, it always wobbled, and the end drifted up one time and down the next. When he tried placing the pen at the right-hand end after finishing his name and pulling it to the left, the underline became straight and calm. The finish barely changed in appearance, but the movement became far more secure. We go through types of finish in detail in finishing your signature.
Warming up and practising left-handed
The practice process is the same as for anyone: warm up, learn the stroke order, trace, then build speed. We describe it in detail in how to learn your new signature. A few additions can help left-handers.
- Circles in both directions. Draw a row of clockwise circles, then anticlockwise. Notice which feels more natural, and where possible design your signature's loops to go that way.
- Horizontal strokes both ways. Draw a few lines left to right, then right to left. If one is visibly calmer, use it for your underline and crossbars.
- Practise on a turned sheet. Turn your practice sheet the same way you do when signing. If you practise at one angle and sign at another, your hand learns two separate movements.
- Practise with your signing pen. Use the same tool you'll sign with, so you get used to how it dries and glides.

If you practise on a screen, smudging isn't an issue at all, so you can concentrate entirely on the form. Calligra's practice mode scores every attempt, which gives left-handers useful feedback on whether slant and proportion are becoming consistent. Afterwards it's worth settling it on paper too, where the paper angle and the ink also come into play.
Everyday situations: counters, terminals, neighbours
Most signatures don't happen at a comfortable desk. Here are a few common situations, and what helps in each.
- Bank branches and service desks. The pen fixed to the counter is often on the right, on a short cord. If it doesn't reach comfortably, ask whether you can use your own pen, or pull the sheet closer to the pen and turn it.
- Sharing a table. If several people sit at a table, try to sit at the left end of the row, so your elbow doesn't bump your right-hand neighbour's.
- Spiral notebooks and ring binders. The spiral on the left falls right under your hand. If you can, write on the back of the page, or use a top-bound pad.
- Clipboards. The clip and the stiff board make it hard to turn the sheet. Turn the whole clipboard, or hold it at an angle along your forearm.
- Couriers and card terminals. Screens don't smudge, but the small surface and the rush make a simpler, one-movement version useful. See signing on screens.
If you were switched, or write with both hands
In the past, in many places, left-handed children were made to switch to their right hand. If that happened to you, you may now write right-handed but find some movements more natural with your left. Or you might be able to write with both hands but feel fully confident with neither.
- One signature, one hand. Whichever hand you choose, always sign with that one. Two hands produce two different movements, and that undermines consistency.
- Choose the more comfortable one. If you write with both, try signing with each for a few days and pick the one that's calmer, faster and less tiring.
- Don't force a switch. If you've written with one hand for decades, you don't need to switch for the sake of your signature. A comfortable, well-practised movement is worth more than one that's theoretically more natural.
Rebecca Moore learned to write with her right hand as a child, but used scissors and spoons with her left. When she designed a new signature, she tried it with both. The left-handed version had more flow but less control; the right-handed one was slower but more consistent. In the end she stayed with her right hand, because it became secure more quickly in practice. There's no right or wrong choice; all that matters is which hand you can sign with consistently.
A checklist for left-handers
Before you start learning a new signature, or just tidying up your current one, run through this short list.
- 1Grip. Relaxed, a little higher up from the tip, wrist straight or slightly bent.
- 2Paper. On your left side, turned clockwise, the line roughly at right angles to your forearm.
- 3Slant. Any direction works, as long as it's always the same. Check it with a ruler on ten attempts.
- 4Tool. Quick-drying ink, tested on the paper you sign on.
- 5Strokes. You've tried awkward strokes in reverse, and small marks come last.
- 6Practice. You practise at the same paper angle and with the same pen you sign with.
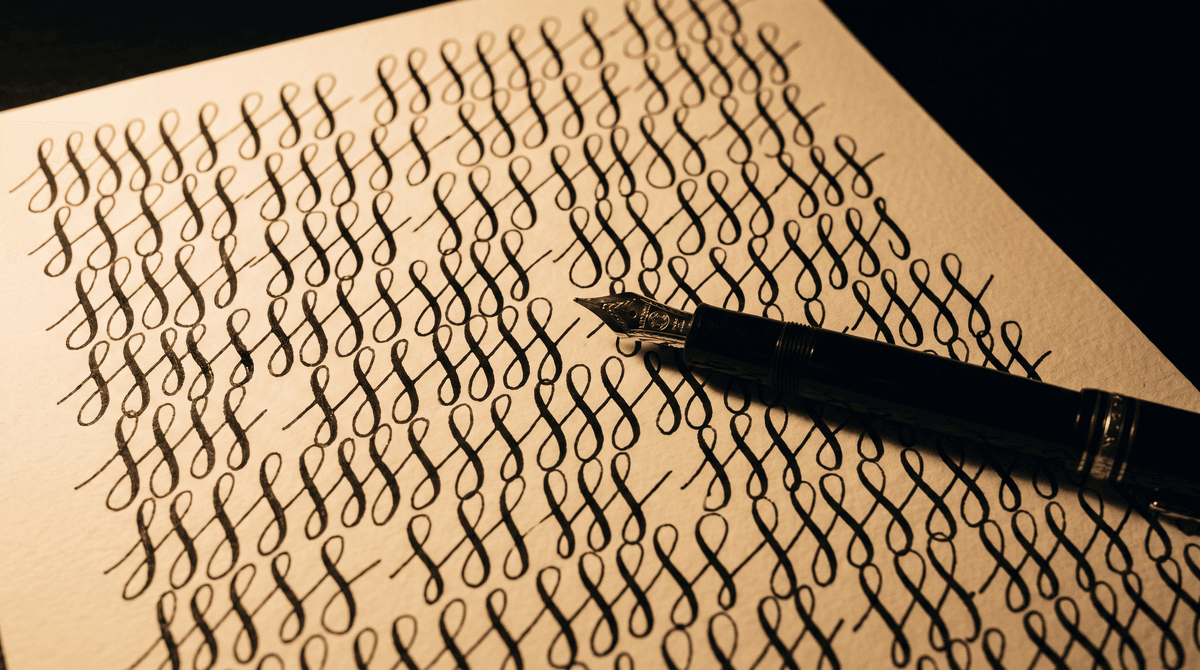
With these in place, your left-handed signature will be every bit as confident as anyone else's. And if you're looking for a new signature, the article on designing the capital helps you shape the form, while Calligra designs five options for your name that you can then practise with your own hand, at your own pace.
The one sentence worth taking away
Turn the paper, hold the pen lightly, choose quick-drying ink and shape the strokes to your hand: with your left hand you can write a signature just as good-looking, calm and consistent as anyone's.
Questions
Is it bad to write with a hooked hand?
Not necessarily. Many left-handers learned to write that way because it lets them see the text without smudging it. If it's comfortable, your wrist doesn't hurt and your signature is consistent, there's no reason to change. If you feel tension or pain, try turning the paper further and holding the pen a little higher; that often straightens the wrist by itself.
Which way should I turn the paper?
Left-handers usually find a clockwise turn comfortable, with the sheet on the left side of the body. There's no required angle: turn it until your hand sits comfortably below or beside the line and the signature line is roughly at right angles to your forearm. Try a few angles and stick with the one that gives you the most consistent signature.
Which pens smudge least?
Most ballpoints and many fineliners dry quickly, so for everyday use they're the safest choices for left-handers. Gel and fountain pen inks can dry more slowly depending on the type, though quick-drying versions exist. The best test is to try your chosen pen on the paper you usually sign.
Does a left-handed signature need to slant forward?
No. Upright or slightly backward-slanting writing often comes more naturally with the left hand, and that's completely fine. What matters is that your signature always leans the same way. If you like a forward slant, experiment with turning the paper further rather than bending your wrist.
Can I change the direction of my signature's strokes?
Yes. You can draw an underline or a crossbar from right to left if that's more comfortable with your left hand. The finished shape stays almost the same; at most the tapering end of the line moves to the other side. The key is to always write it the same way.
I was switched to my right hand. Which hand should I sign with?
Whichever feels more comfortable, faster and more consistent. Try both for a few days and choose. If you've signed right-handed for years, you don't need to switch. What matters is always signing with the same hand.
What if the counter at the bank or an office is awkward?
Feel free to turn the sheet, pull it closer, or ask whether you can use your own pen. Nobody expects you to sign at a particular angle. If an institution keeps a sample of your signature, sign it as calmly as you can in your usual position, so that your later signatures match it.
Try it with your own name

Read these too
Knowledge Practice
How to learn your new signature, step by step
Warm up, learn the stroke order, trace, then build speed: a 7-day and a 21-day plan for making a new signature truly yours.
 Practice
Signing in tiny spaces: cards, forms, cheques
The narrow strip on the back of a card, a tiny box on a form, a table cell: suddenly your usual signature doesn't fit. Here's how to scale it down while keeping it the same signature.
PracticeSignature practice sheet: how to make one and use it well
No download needed: a sheet of A4, a ruler and a pencil will do. Guide lines, real-life box sizes, a sheet laid out row by row and a seven-day routine that makes the sheet do the work for you.